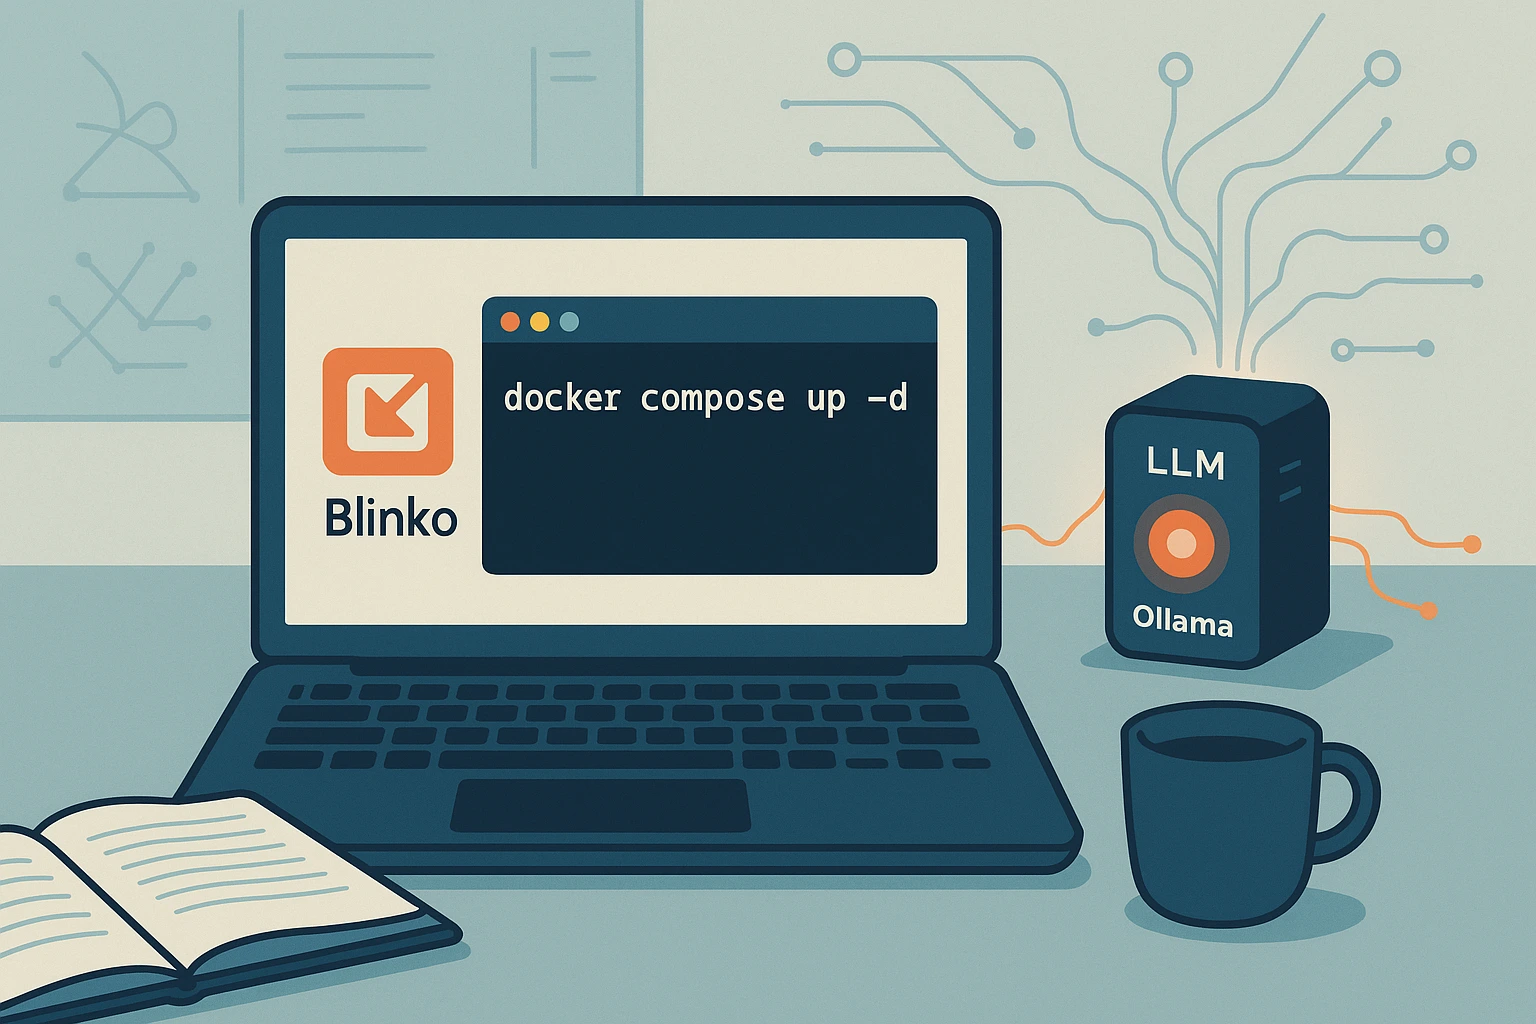
Setup Blinko Notes with Ollama
Self-host Blinko for local AI-powered note-taking using Docker and Ollama. A step-by-step guide for private, flexible, LLM-integrated productivity.
Another note app?
In the past we’ve looked at, and used, Obsidian and Joplin. While both are great note-taking apps I’d been looking for one that had a responsive webui and possibly the ability to use a local LLM like Ollama or Exo. Blinko is a little like a callback to Mem but self-hosted and able to use local LLM’s, adding a level of control over your data. This guide will be a quick setup using Docker, with a few tweaks to avoid a few headaches in getting things working with Ollama(or any AI).
Docker Compose Setup
While there is an install.sh script that works, I tend to prefer having a docker-compose.yml file with a few tweaks to bolster security. Below are the contents of that docker-compose.yml file. Note the lines that have changeme in them, these need to be unique. For those who don’t already have a running Ollama server, and don’t intend to use a GPU, you can uncomment the Ollama lines to start a dockerized isolated instance.
Let’s open a shell and create a folder for Blinko, along with a data folder, and the docker compose file.
1
2
3
4
5
cd ~
mkdir blinko
cd blinko
mkdir data
nano nano docker-compose.yml
Now let’s paste the following into the file, being sure to make the above changes.
1
2
3
4
5
6
7
8
9
10
11
12
13
14
15
16
17
18
19
20
21
22
23
24
25
26
27
28
29
30
31
32
33
34
35
36
37
38
39
40
41
42
43
44
45
46
47
48
49
50
51
52
53
54
55
56
57
58
59
60
61
62
63
64
65
66
67
68
69
70
networks:
    blinko-network:
    driver: bridge

services:
    blinko-website:
        image: blinkospace/blinko:latest
        container_name: blinko-website
        environment:
        NODE_ENV: production
        # NEXTAUTH_URL: http://localhost:1111
        # IMPORTANT: If you want to use sso, you must set NEXTAUTH_URL to your own domain
        # NEXT_PUBLIC_BASE_URL: http://localhost:1111
        # IMPORTANT: Replace this with your own secure secret key!
        NEXTAUTH_SECRET: ChangeMe
        DATABASE_URL: postgresql://postgres:changeme@postgres:5432/postgres
        depends_on:
        postgres:
            condition: service_healthy
        # Make sure you have enough permissions.
        volumes:
            - /home/user/blinko/data/.blinko:/app/.blinko
        restart: always
        logging:
        options:
            max-size: "10m"
            max-file: "3"
        ports:
            - 1111:1111
        healthcheck:
        test: ["CMD", "curl", "-f", "http://blinko-website:1111/"]
        interval: 30s
        timeout: 10s
        retries: 5
        start_period: 30s
        networks:
            - blinko-network

    postgres:
        image: postgres:14
        container_name: blinko-postgres
        restart: always
        ports:
            - 5435:5432
        environment:
            POSTGRES_DB: postgres
            POSTGRES_USER: postgres
            POSTGRES_PASSWORD: CrthQDQK7k
            TZ: America/Chicago
        # Persisting container data
        # Make sure you have enough permissions.
        volumes:
            - /home/chief/blinko/data/.db:/var/lib/postgresql/data
        healthcheck:
            test: ["CMD", "pg_isready", "-U", "postgres", "-d", "postgres"]
            interval: 5s
            timeout: 10s
            retries: 5
        networks:
            - blinko-network

    # ollama: # Add the Ollama service
        # image: ollama/ollama
        # container_name: ollama
        # restart: always
        # volumes:
            # - /home/chief/blinko/ollama:/root/.ollama
        # No need to expose ports here if only accessed internally
        # networks:
            # - blinko-network
Now we can start up Blinko with the following command.
1
docker compose up -d
Getting Started with Blinko
Now that we’re up and running we can connect to our Blinko instance and register the initial account on the login screen. Once that’s done we’ll want to click on your account name in the upper left-hand corner of the screen and go to settings and click on the AI header withing settings.
Here there be dragons
When setting up the AI settings for things like AI tagging, AI writing, and Chat(which may time out depending on your Ollama server), I ran into trouble getting things to talk correctly. After trying various combinations of address formats and models I found a closed issue on Blinko’s Github Page stating that that person had to manully enter in the model name, after trying this things clicked into place and started working.
First, let’s open a shell on our Ollama server and download a few of the models we’ll start with.
1
2
3
ollama pull llama3.2:latest
ollama pull nomic-embed-text:latest
ollama pull linux6200/bge-reranker-v2-m3:latest
In the AI screen we previously opened let’s change the following.
- Check Use AI
- Select Ollama for the Model Provider
- For the Model type in
llama3.2:latest - Set the Endpoint to http://ollama-server-ip:11323/api
- Type into Embedding Model
nomic-embed-text:latest - Type into Rerank model
linux6200/bge-reranker-v2-m3:latest
In closing
With that, we should have a working instance of Blinko with a connection to an in-house Ollama instance. While testing I’ve found, at least with llama3.2, that AI writing was ok if a little error-prone, but the AI tagging was a great help.
If you found this post helpful please consider buying me a coffee. Till next time, fair winds and following seas.